

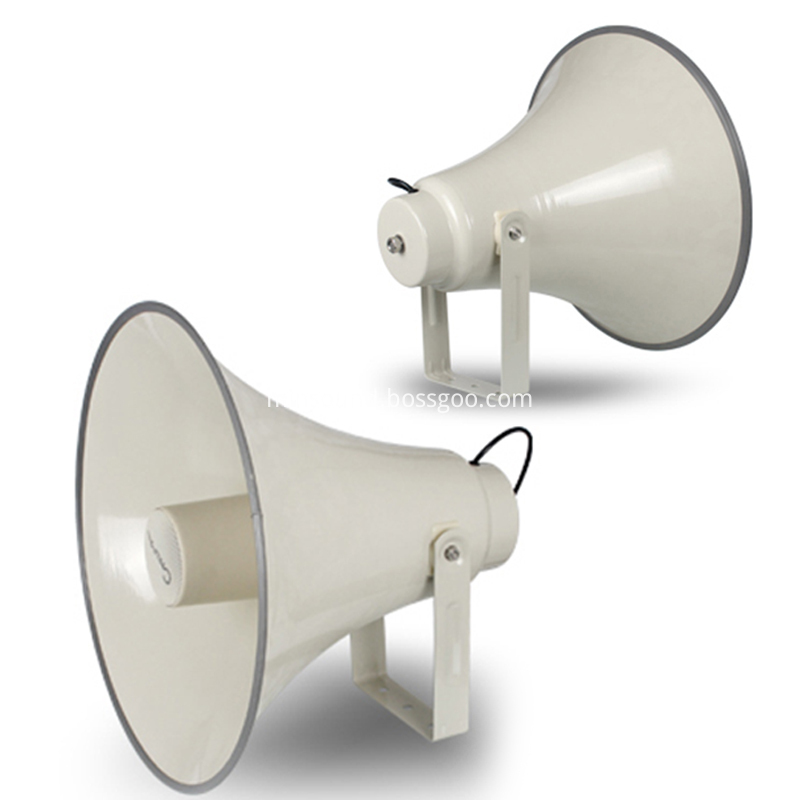
First, select the appropriate thickness of paper, cut two pieces of paper 5-10 mm wide, 20 mm long, larger than the diameter of the core post, two perpendicular strips of paper on the core post (position in the middle). To prevent them from moving, stick them with a little paste, insert the ends of the strip into the magnetic gap, line them up with the magnetic gap, and gently press the sound on the speaker diaphragm. Because of the note, the sound factor is positioned right in the center of the magnetic gap and will not skew. Apply the glue evenly to the upper side of the diaphragm edge and cover the top cover of the horn head so that the screw holes are aligned. Tighten the screws and mark the relative position at the appropriate position between the top cover and the speaker horn head. Once the glue has dried, you can unscrew and remove the top cover. By this time, the sound membrane has adhered to the upper cap.
In the second part, weld the lead of the voice coil to the terminal, take out two pieces of paper attached to the core post, and then put the top cover back on. Note the original mark and tighten the screw. At this time, the position is basically OK, but it must be carefully corrected. The method is to use a multimeter RX1 or 1.5V dry battery, repeatedly touch the two terminals, repeatedly knock the top cover, until the cough sound, no friction sound, pay attention to symmetric rotation tightening.