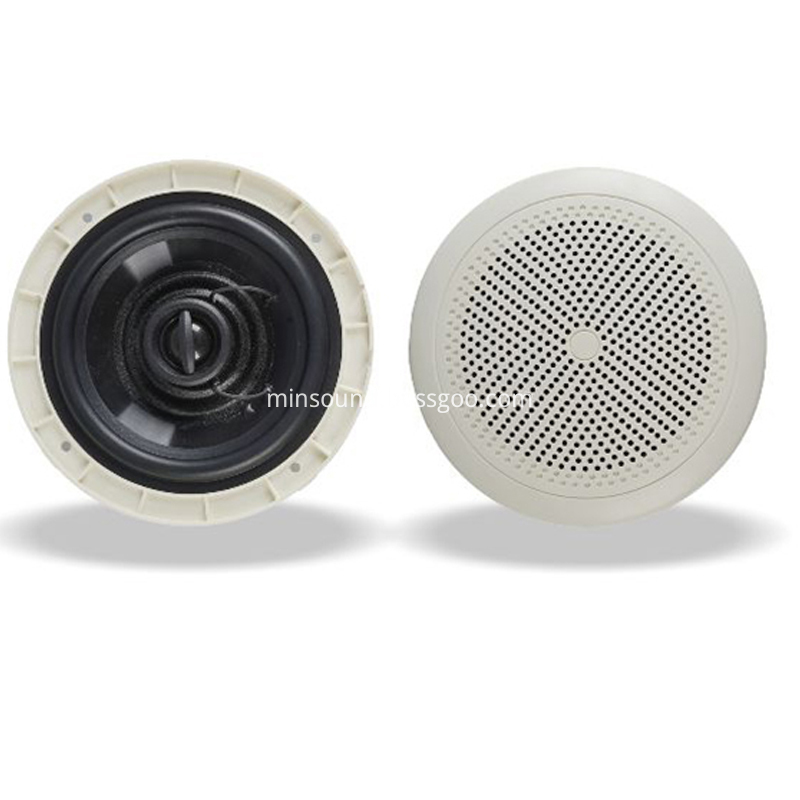
1. Ceiling loudsspeaker installation - punching
1. Ceiling speaker can be divided into many kinds. The types of installation in different places are different, and the installation methods are also different. Let's start with the installation of family-type ceiling speakers. The first is to open holes to prevent damage to the ceiling, especially the ceiling of gypsum board ceiling. Generally, special drilling drills are used.
2. The hole diameter is in accordance with the hole specification required by each ceiling stereo, but the specific construction site can be slightly larger, so it is also very easy to install and remove, especially the plaster ceiling. If the ceiling stereo is installed too tightly, it is very easy to damage the gypsum board.
2. Ceiling Mount Speakers audio installation - wiring installation
1. The layout of the ceiling audio circuit in the large living room should be done together with the electrician's wiring, because the speaker wire is installed with weak current, so it should not be too close to the electrician's weak current (AC220 V). If there are PVC pipes, the spacing of 20 cm is enough. This is all to prevent the occurrence of influence factors, but the overall wiring route should follow the electrician's weak current installation line or weak current as far as possible to prevent disorderly, In addition, electricians usually leave access holes for wiring, and the horn line should be different from other lines, which can be clearly identified in case of convenient maintenance.
2. The PVC pipe of the sound horn line can be fixed on the ceiling suspender. It should also be taken into account that the location of the sound point is different from the location of other various lights, the location of the fire sprinkler, the air conditioning vent, and the ceiling to ceiling modeling design. If the installation location of the sound horn is repeated with the lamp location, or the design scheme is in the air conditioning vent, it will harm the beauty and elegance, Those with higher regulations will pay attention to this, so they must also be fully considered.
3. The horn wire is threaded through PVC, and the PVC pipe is bent with elastic yellow to ensure that the wire inside each pipe can twitch at will from the wiring terminal, and it is also convenient to repair, install and change the wire. The general electrician is to wait for the painter to paint before installing various lights, which also prevents many inconveniences.
3. Ceiling mounted audio installation - system software adjustment
Finally, it must be noted that the circuit must be checked before the system software is started (after the circuit layout is completed, the circuit should be checked before the ceiling is sealed).
The ceiling sound installation is thus completed. It can not only save indoor space, but also decorate and design the ceiling. The key is to use the ceiling to have the actual effect of sound insulation and noise reduction, and even to deal with the problems of sound diffraction and shell vibration.