

When installing the horn speaker. Since it is not easy to observe the position of the sound in the Magnetic Institute, it can be carried out in two steps.
Step 1: Select paper of appropriate thickness, cut two strips of paper with a width of 5-10mm and a length of 20mm larger than the diameter of the iron core column, and place the two strips of paper on the iron core column perpendicular to each other center). In order to prevent them from moving, stick them with a little paste, insert the two ends of the paper strip into the magnetic gap, and press the sound country on the diaphragm to the magnetic gap and press down gently. Due to the existence of the paper strip, the position of the sound park is just in the center of the magnetic gap, and it will not be skewed. Apply glue evenly on the upper side of the edge of the vibrating membrane, and cover the upper cover of the horn loudspeaker head, aligning the screw holes. Tighten the screws and mark the position of the cover relative to the PA loudspeaker head where appropriate. After the glue is dry, you can unscrew the screw and take out the top cover. At this time, the sound membrane has been glued to the upper cover.
In the second part, solder the lead of the tone to the binding post, take out the two strips of paper pasted on the iron core post, and then cover the upper cover back. Be careful to align with the original mark and screw the screw on. At this time, the position is basically OK, but it must be carefully adjusted. The method is to use the multimeter RX1 gear or use a 1.5V dry battery, keep touching the two terminals, and tap the upper cover again, until there is a coughing sound, and there is no friction sound, and pay attention to rotate and tighten symmetrically.
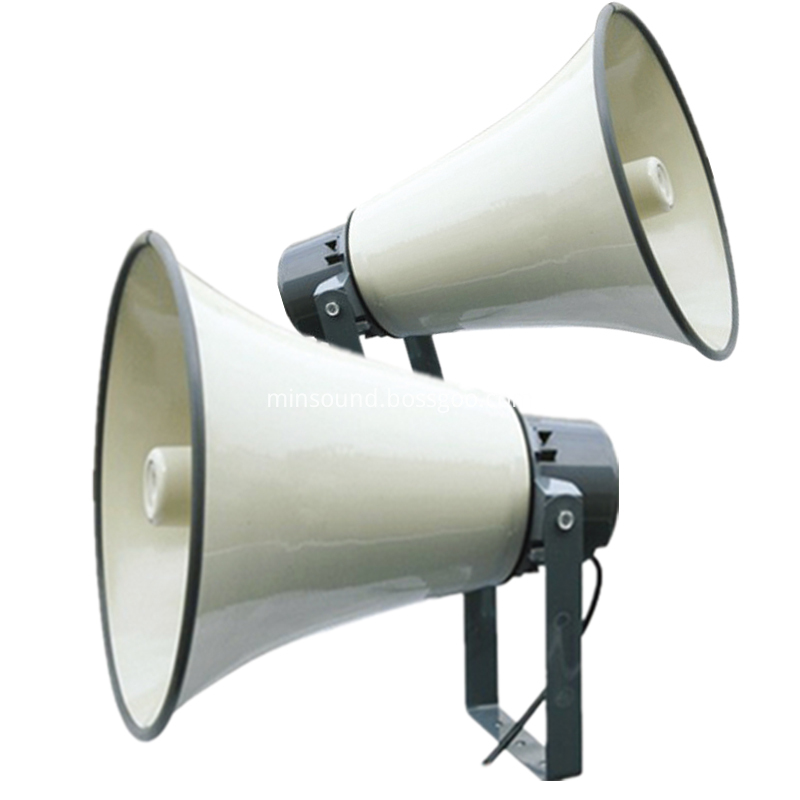
There are two steps when the voice coil of horn speaker is installed
2022 10/20